Colour changes
Match project colours to AMS slots, reuse slots for extra colours, or change spools manually.
Standard AMS printing
If all the colours fit, use the AMS changes already saved in the 3MF.
- Load one spool for each different colour. Loading them in project order makes them easier to match.
- Keep the supplied Project Filaments. Slice the plate and click Print plate.
- Match each project colour to its physical AMS slot and send the print. White in A3? Choose A3 for white.
More than four colours with one AMS
Load the first four different colours in the order they appear. Check the refill pauses in Preview. In Print plate, assign later colours to the slots you’ll refill.
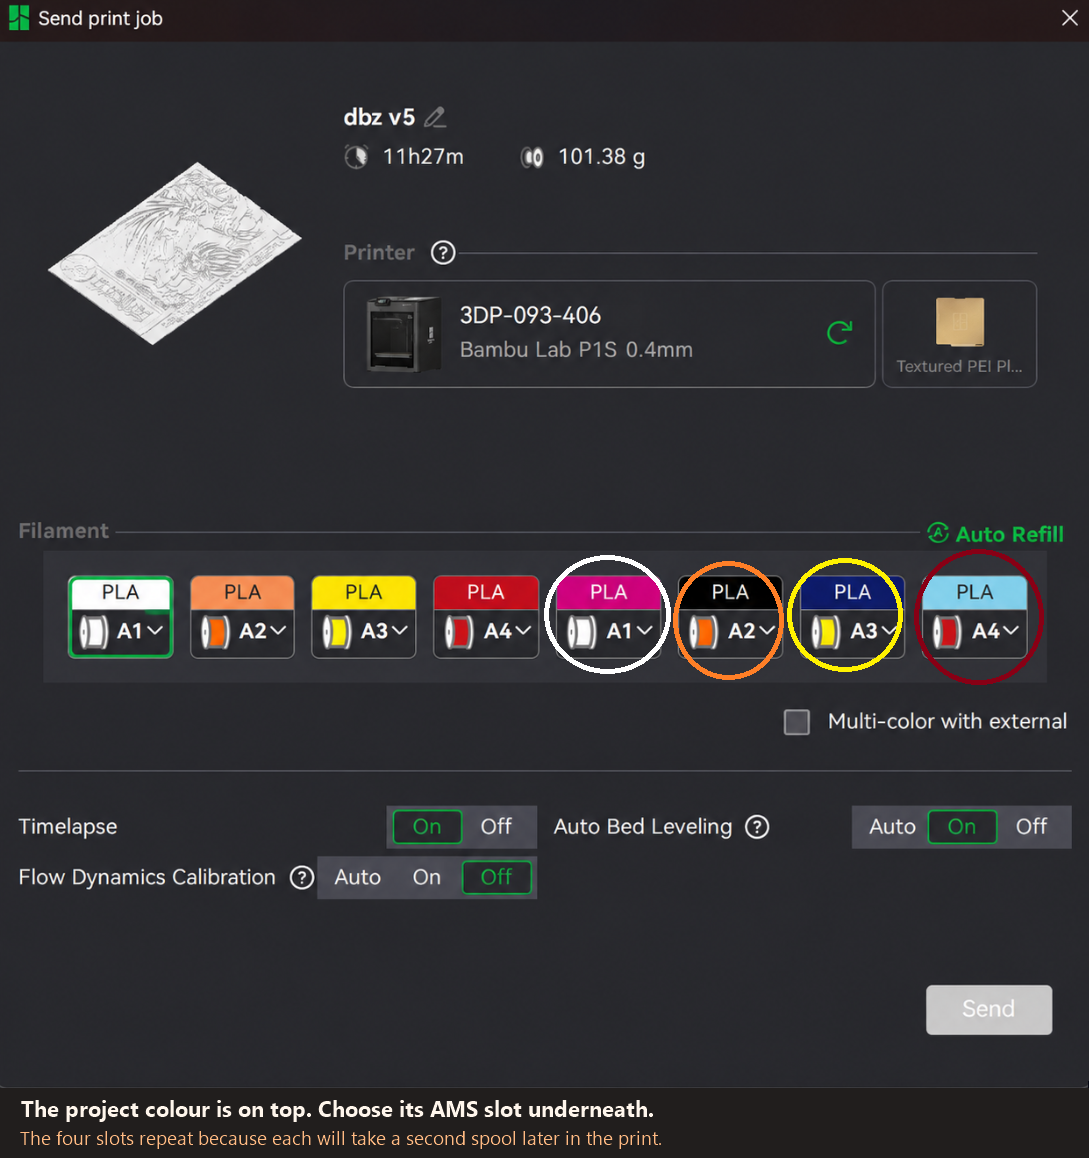
| Slot | Start with | Load at the scheduled pause |
|---|---|---|
| A1 | Jade White | Pause 1 · Magenta |
| A2 | Mandarin Orange | Pause 2 · Black |
| A3 | Yellow | Pause 3 · Blue |
| A4 | Red | Pause 4 · Ice Blue |
At each pause, replace the indicated spool and resume. Keep any colour you’ll need again. Watch a four-slot swap · Reusing slots
A shared nozzle still purges between colours with the prime tower off. How purging works
More than four colours on a Snapmaker U1
Open the original HueForge 3MF in U1Convert. It reads the saved layer-by-layer colour changes, adds a pause whenever you need to replace a spool, and gives you a colour-coded spool swap guide.
Re-slice the converted file in Snapmaker Orca. At each pause, the guide shows the toolhead, the colour to remove and the colour to load. U1 conversion steps
Printing without an AMS
If your print dialog offers external spool swapping, keep the saved colour changes. Remove any AMS refill pauses from your copy and follow the printer’s prompts. Bambu Lab’s external-spool setup guide
For manual pauses, replace every colour change. The eight-colour example needs ten stops.
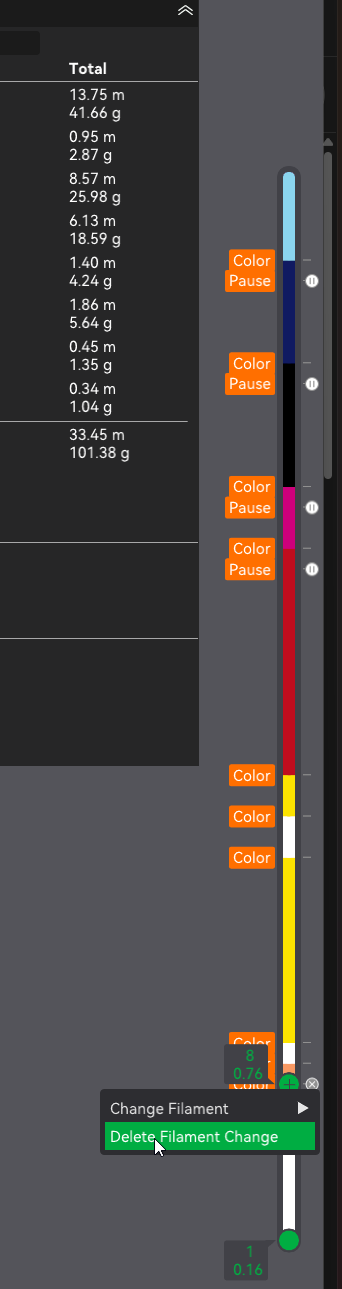
- Save a copy and slice it. In Preview, note each Color marker’s height in millimetres and the next colour.
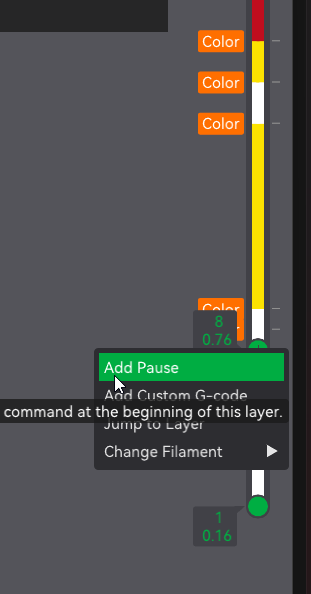
- Right-click each marker and choose Delete Filament Change. At that same height, right-click + and select Add Pause if there isn’t already one.
- Remove any extra refill pauses. Slice again and check for one pause at each recorded height.
- Select the external spool and load the first colour. At each pause, change spools. Purge until only the new colour comes through, then resume.
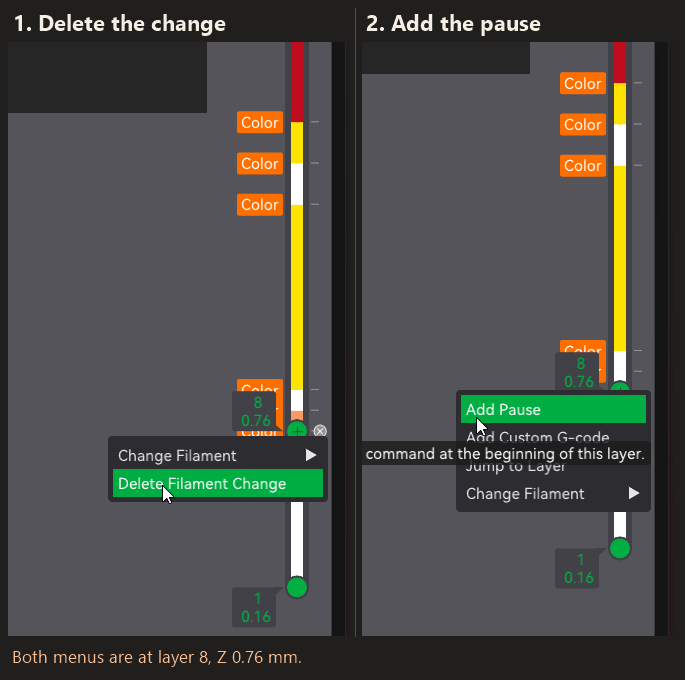
Full delete menu · Full pause menu · Bambu Studio layer controls